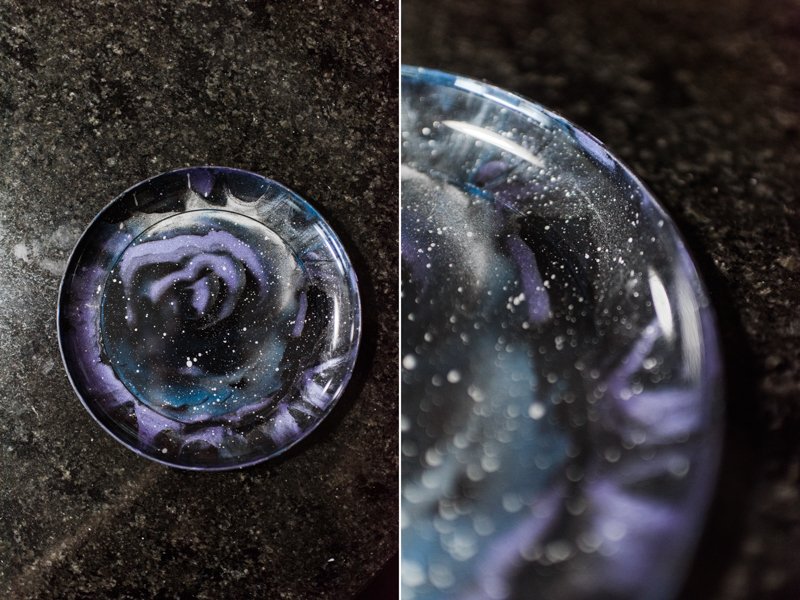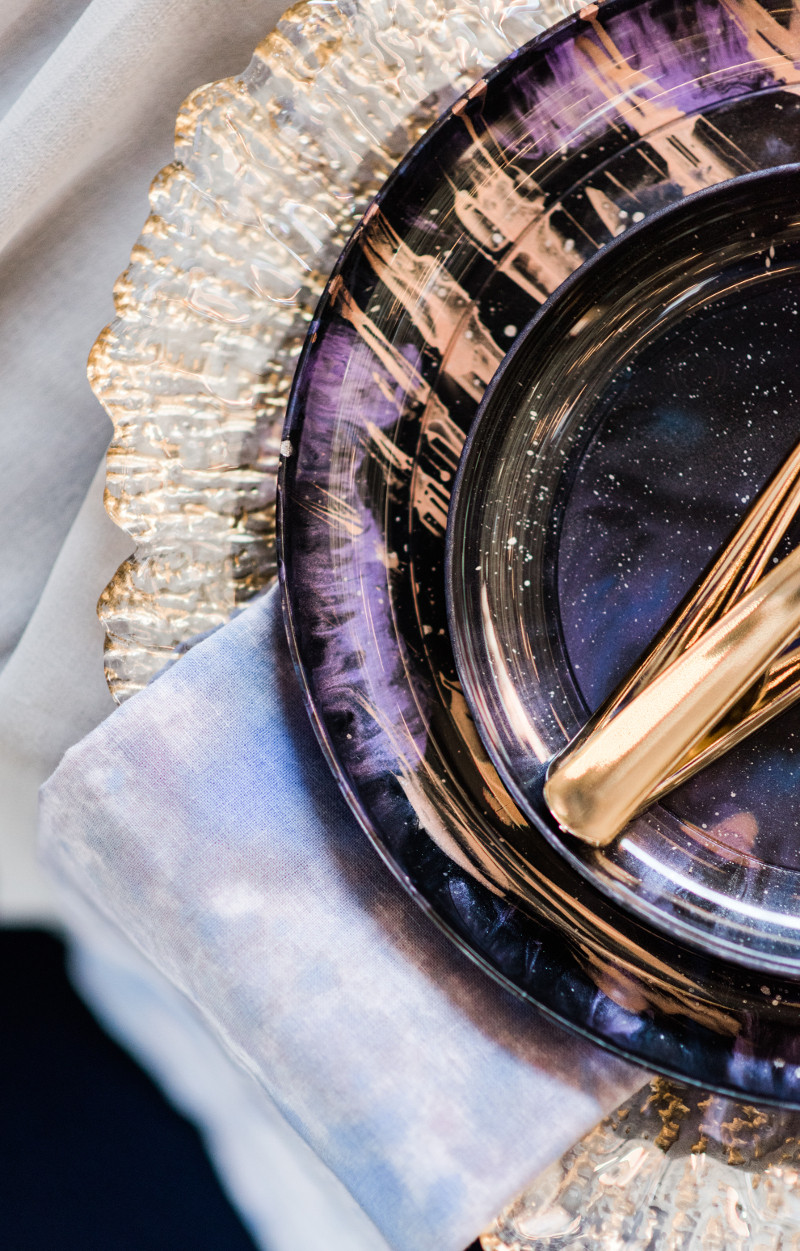
Britney here! One of our favorite crafts to create has been our Galaxy plates! We used these bad boys in our "Love you to Infinity" anniversary shoot and are still SO in love with them. In reality, when I first started playing with fluid painting, I did not expect it to go so well. It seriously looks like the most difficult task, but with a little patience and lots of spare cardboard to drip on, it's a fun and simple craft.
What makes this extra awesome is that we created a whole set of galaxy plates for under $20. Don't think we're telling you the truth? Haha, we understand. It does sound too good to be true, but sit back and relax... Or get set to go create it because we are laying out all the steps and materials now!
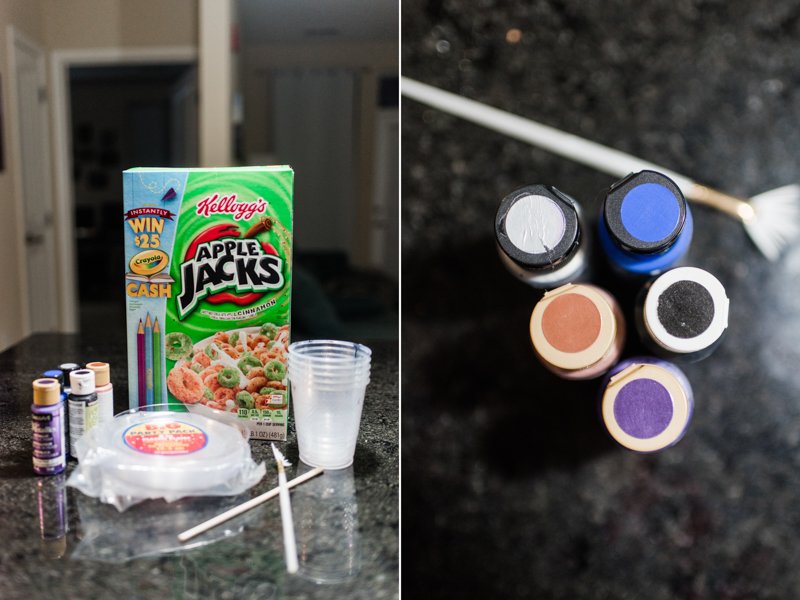
Materials You'll Need
- About 4 or 5 tubes of craft paint. We chose colors that would go with our theme of galaxy which ended up being black, silver, rose gold, amethyst, and cobalt blue. From Michael's, you can grab the Craft Smart brand paint which ranges from $.70 to $1.50 (for the metallics). NOTE // for your base color (black for us) you'll probably want to pick up 2-3 bottles of that
- A small paint brush, which is totally easy to find right in the same aisle as the craft paint. You can pick up a whole assortment of brushes for $3.00 at Michael's
- 24 count of CLEAR plastic lunch/dessert plates. We found the perfect plates at Party City for $9.99.
- Mixing cups. You need to have a cup for each paint color as well as a cup to prop up your plates so they can drip dry. I just grabbed a cheapo pack of 20 cups from Party City for $2.99
- Chopsticks! These are used to spread the paint out when you initially pour it out. The best part? They're free! I use the sets that you get from Chinese takeout restaurants. Now, you don't have to use chopsticks, you can use an old pen, a knife, anything that can be used to spread the paint.
- An old cereal box / newspaper / shipping box to catch the paint drips. Really anything can be used to catch the drips as long as you don't mind it getting ruined. Good news, these are usually free if you live for midnight cereal, like the feel of the news on your fingertips, or order from amazon a lot.
Total cost // $21.08

Creating Your Galaxy Plates!
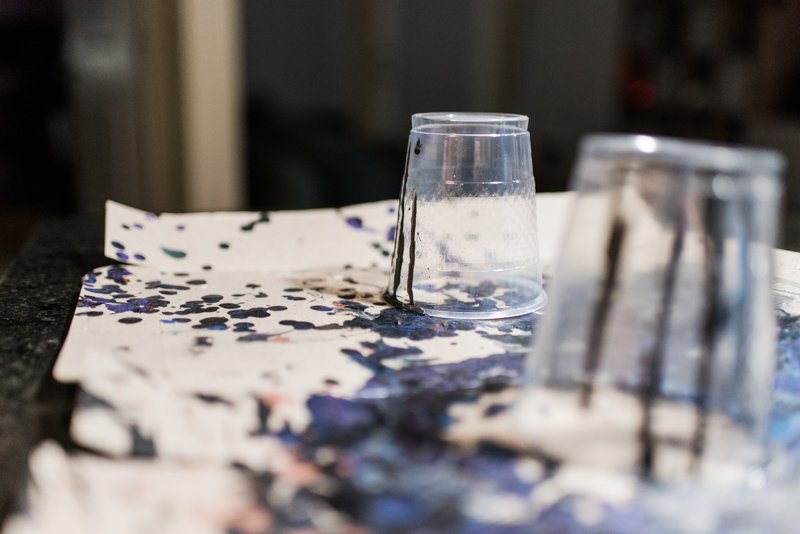
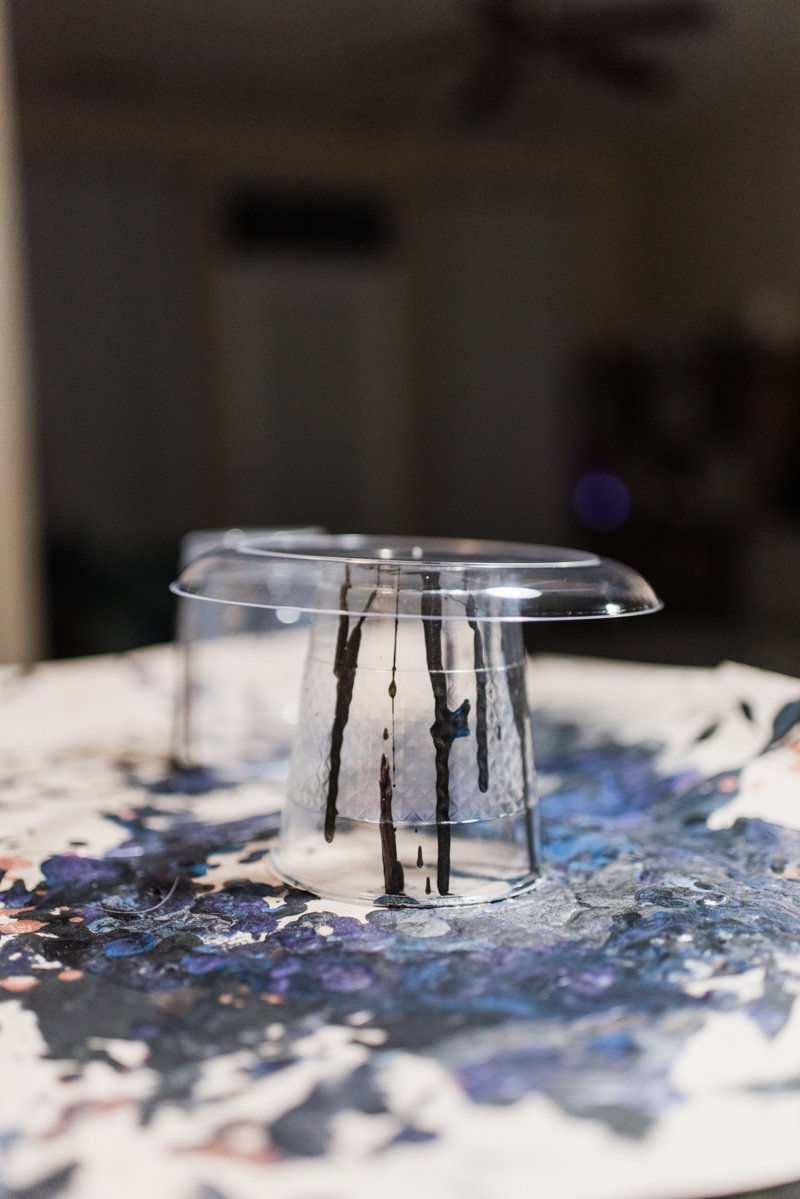
- You'll want to start by setting up your drip station. I cut up one of Shawn's cereal boxes and made sure it was laid out nice and flat. Next, set up two cups from your pack of 20. I set up two so that I could have two plates drying at one time, but you can start with one if you are unsure.

- Set your plates on top of your drip cups, with the underside of the plate facing up.

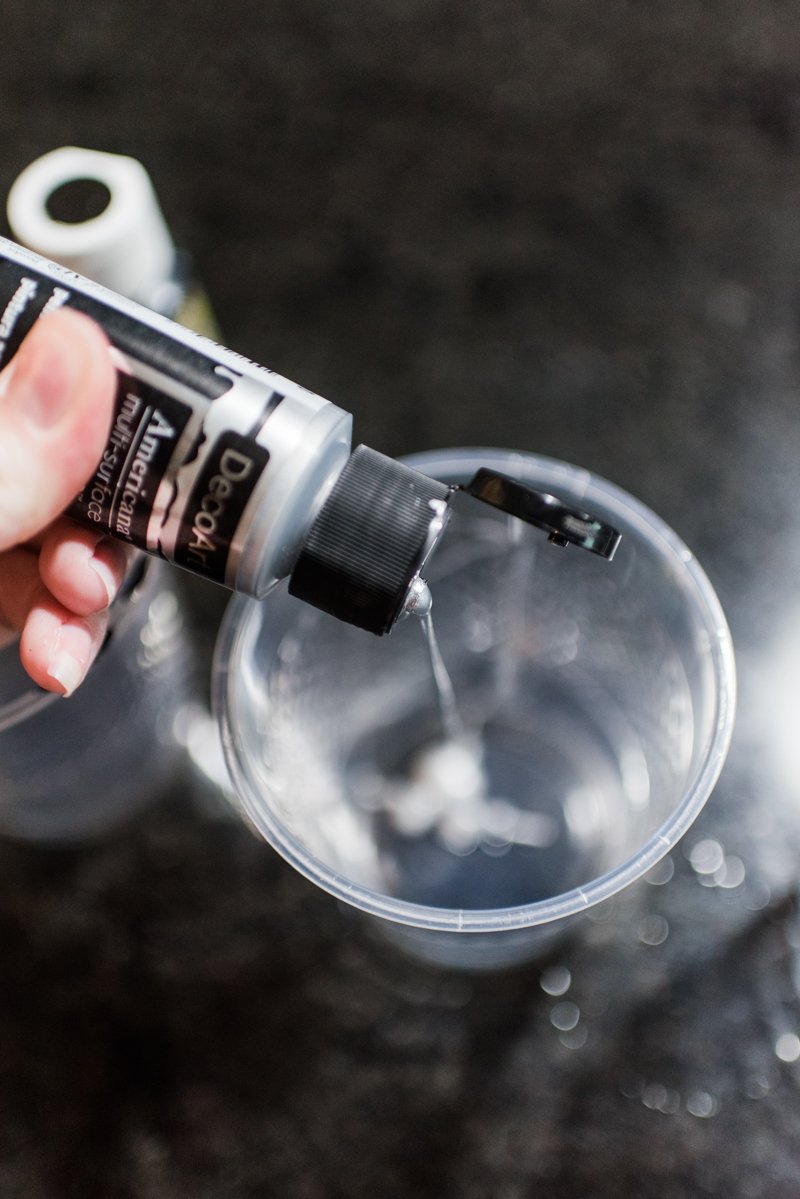
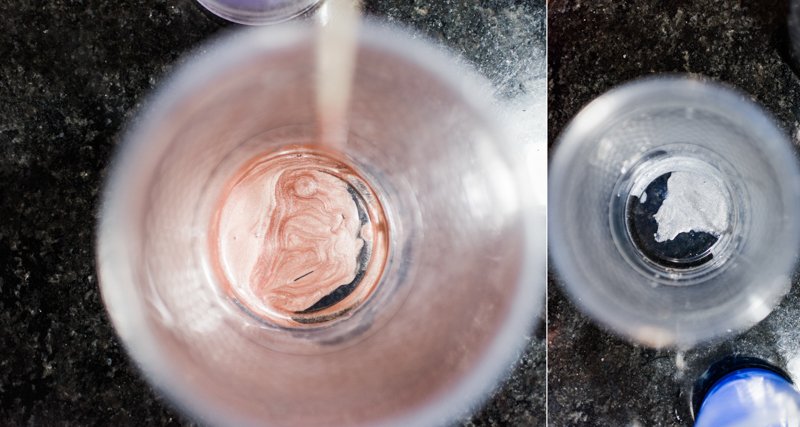
- Onto the paint! Set out a cup for each of your paints. Do about a half tablespoon squirt of each color into each cup. For your base color, do about one and a half tablespoons. You'll need more of this color in a cup because it will serve as the main color of your galaxy. If you're wondering what our base was, we used black.

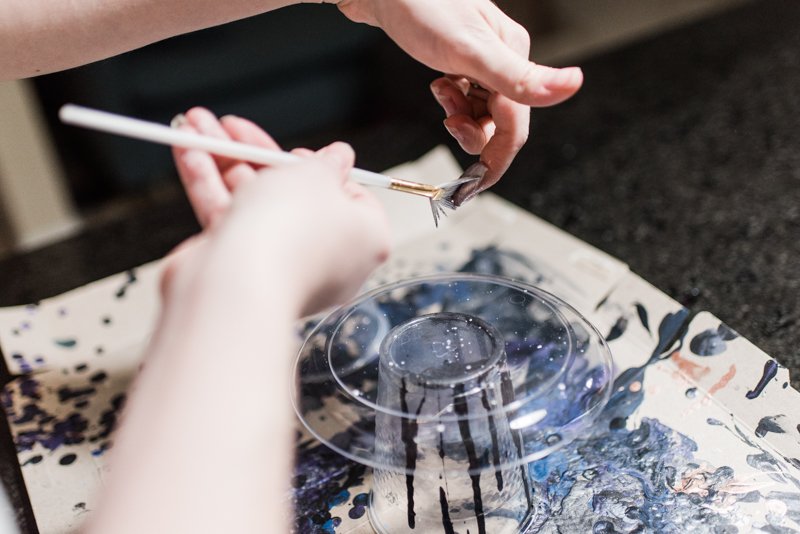
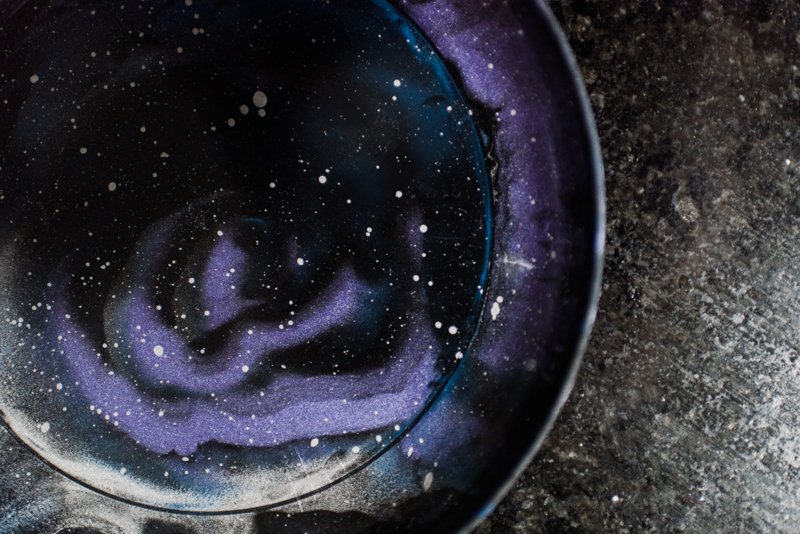
- Taking your paint brush, dip it into the silver paint and using your finger splatter silver dots on your first plate. These will be your stars.

- Next up, fill a liquid measuring cup with tap water. Yup, no fancy liquids used here.
- Pour a splash of water into each paint cup. The consistency of your paint should be thinned out, but NOT runny. If you pour in too much water, no worries, just add more paint!

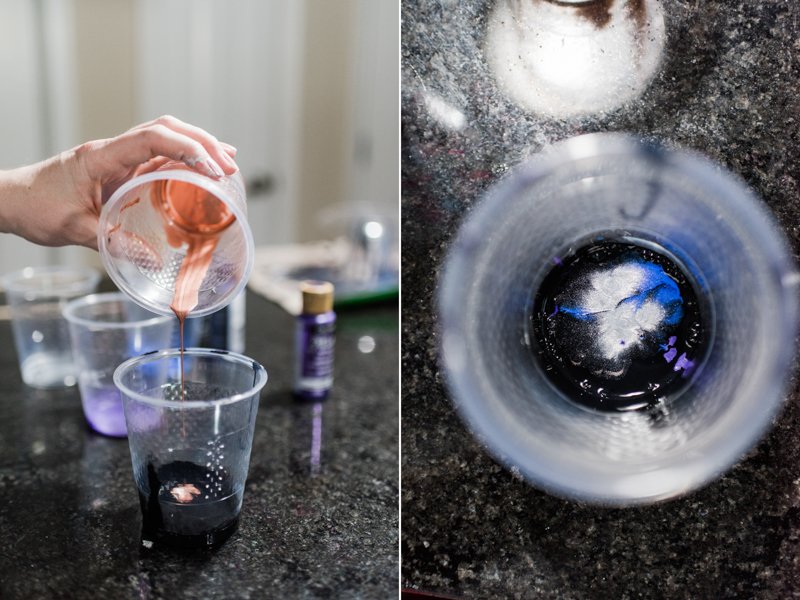
- Pour all of your colors into your base color cup. You are combining 4-5 colors into one cup, this is not a mistype :P.

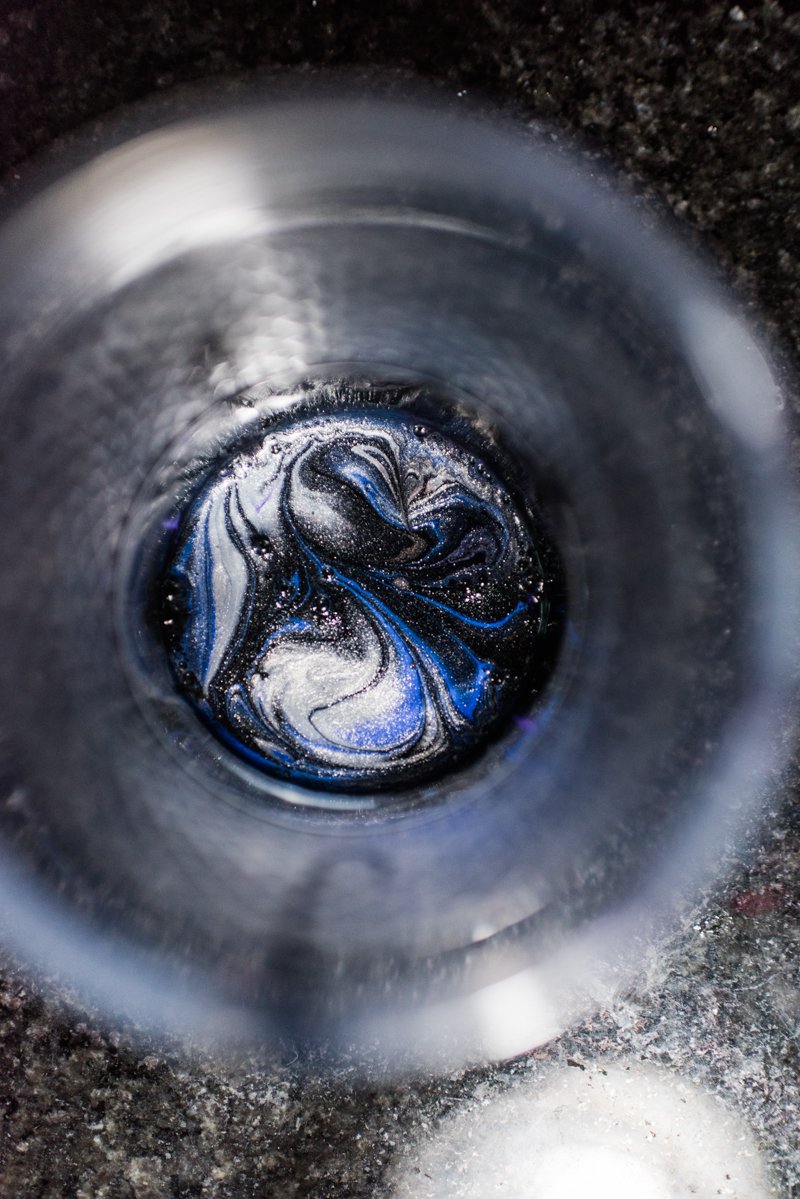
- OPTIONAL // Give the paints a little stir, not too much as you don't want the colors to blend too much before you pour.

The Big Pour (Get it? Like the big bang, hehe)
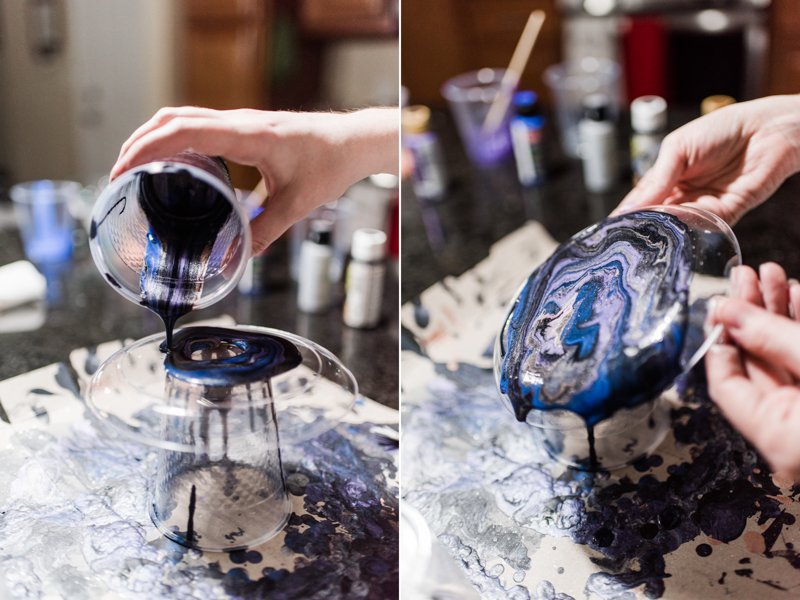
- Take your cup that has your entire galaxy in it and begin pouring it over your propped up plate. Feel free to pour any way you want, in a circle, all in one cluster, diagonal. Whatever it takes to get the paint on the plate, we aren't here to judge.

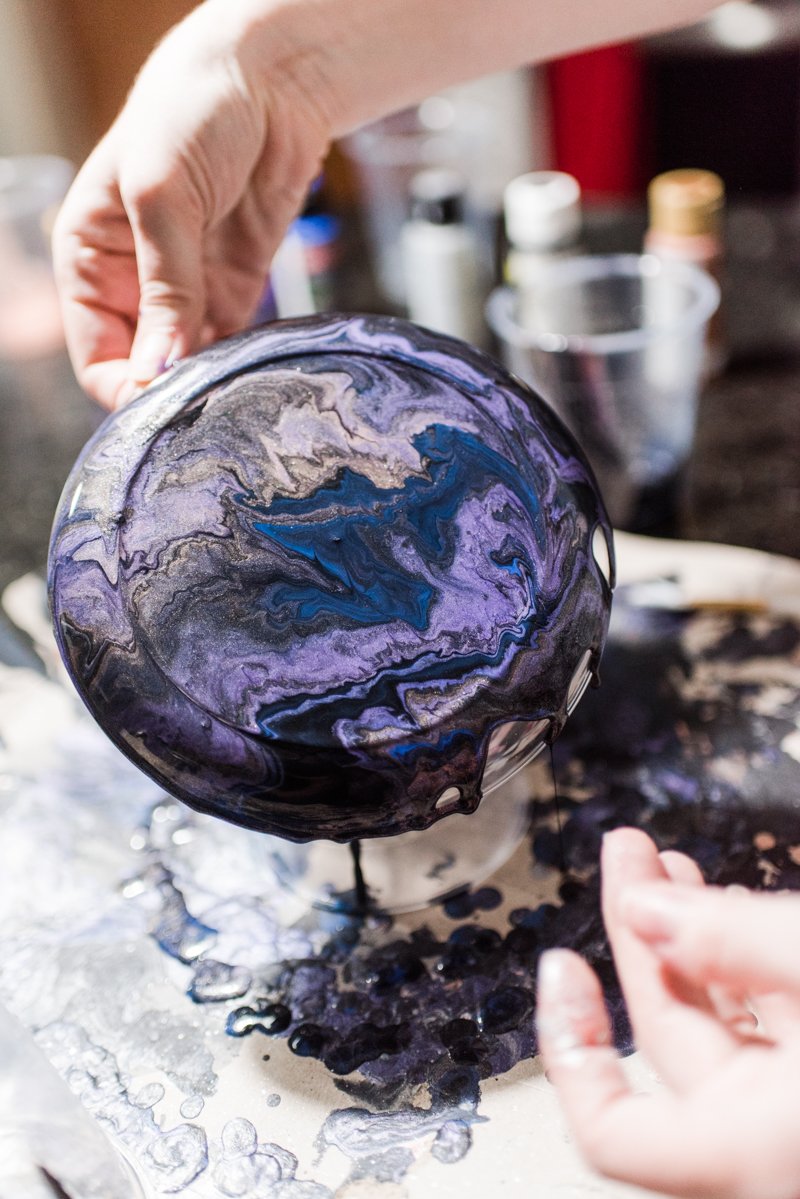
- Carefully lift your plate by the edges, and tilt it so that the paint spreads all over the surface.

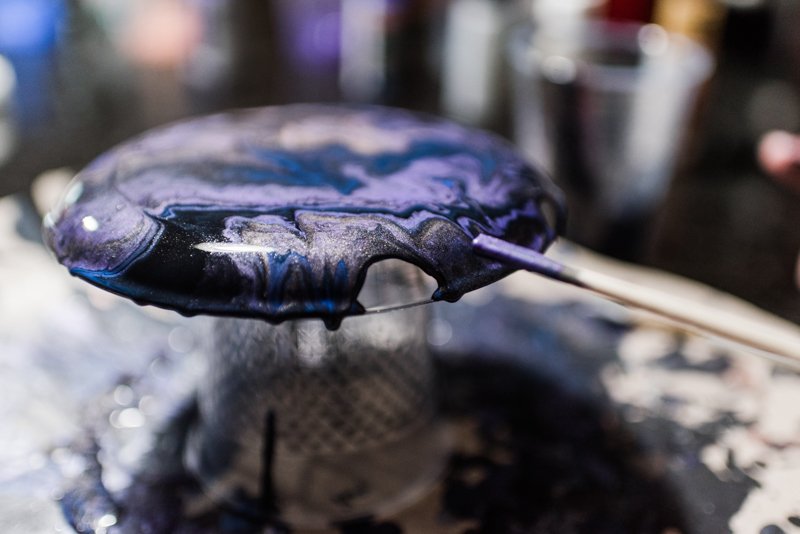
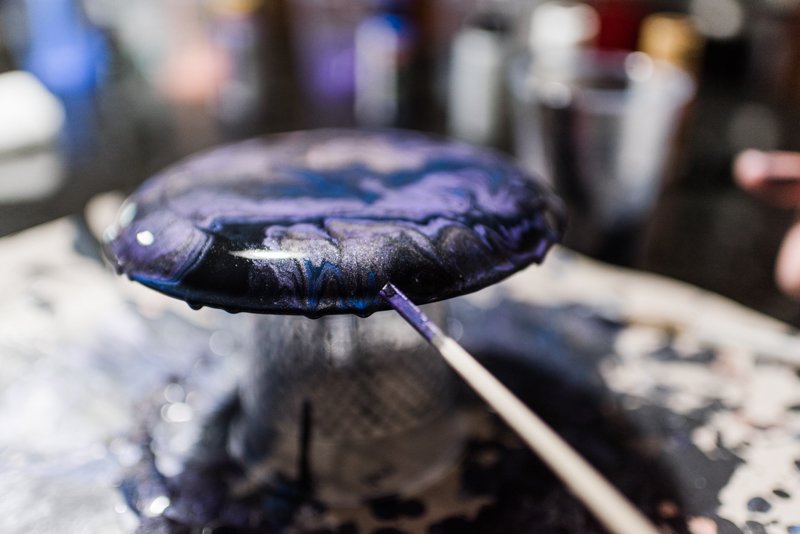
- At a certain point, the paint will no longer spread easily. It's at this point you can pull out your trusty chop sticks and start manually spreading.


- Once all of the bottom surface is covered, let your painted plate dry! The dry time does vary depending on the size of your plates, but on average I would say it takes about 2 hours for your plates to be dry to the touch.

At that point, you can repeat the mixing and pouring until you have the number of plates you desire! We needed about 4 dinner plates and 4 dessert plates and all of those were completed within a day. These plates can give a neat look to your next dinner party since you can totally eat off of them because the paint is on the underside of the plate. Woo!
Have fun and Go Create!